Most custom box projects start with artwork and end with a structural problem. The box has to fit the product, run on whatever packs it, survive a parcel network, look right on a shelf, and hit a cost target. A beautiful print job does not fix a box that bows under load or jams the line. Structure first, then the sample with the product in it, then the graphics.
First, Define What “Cardboard Box” Means
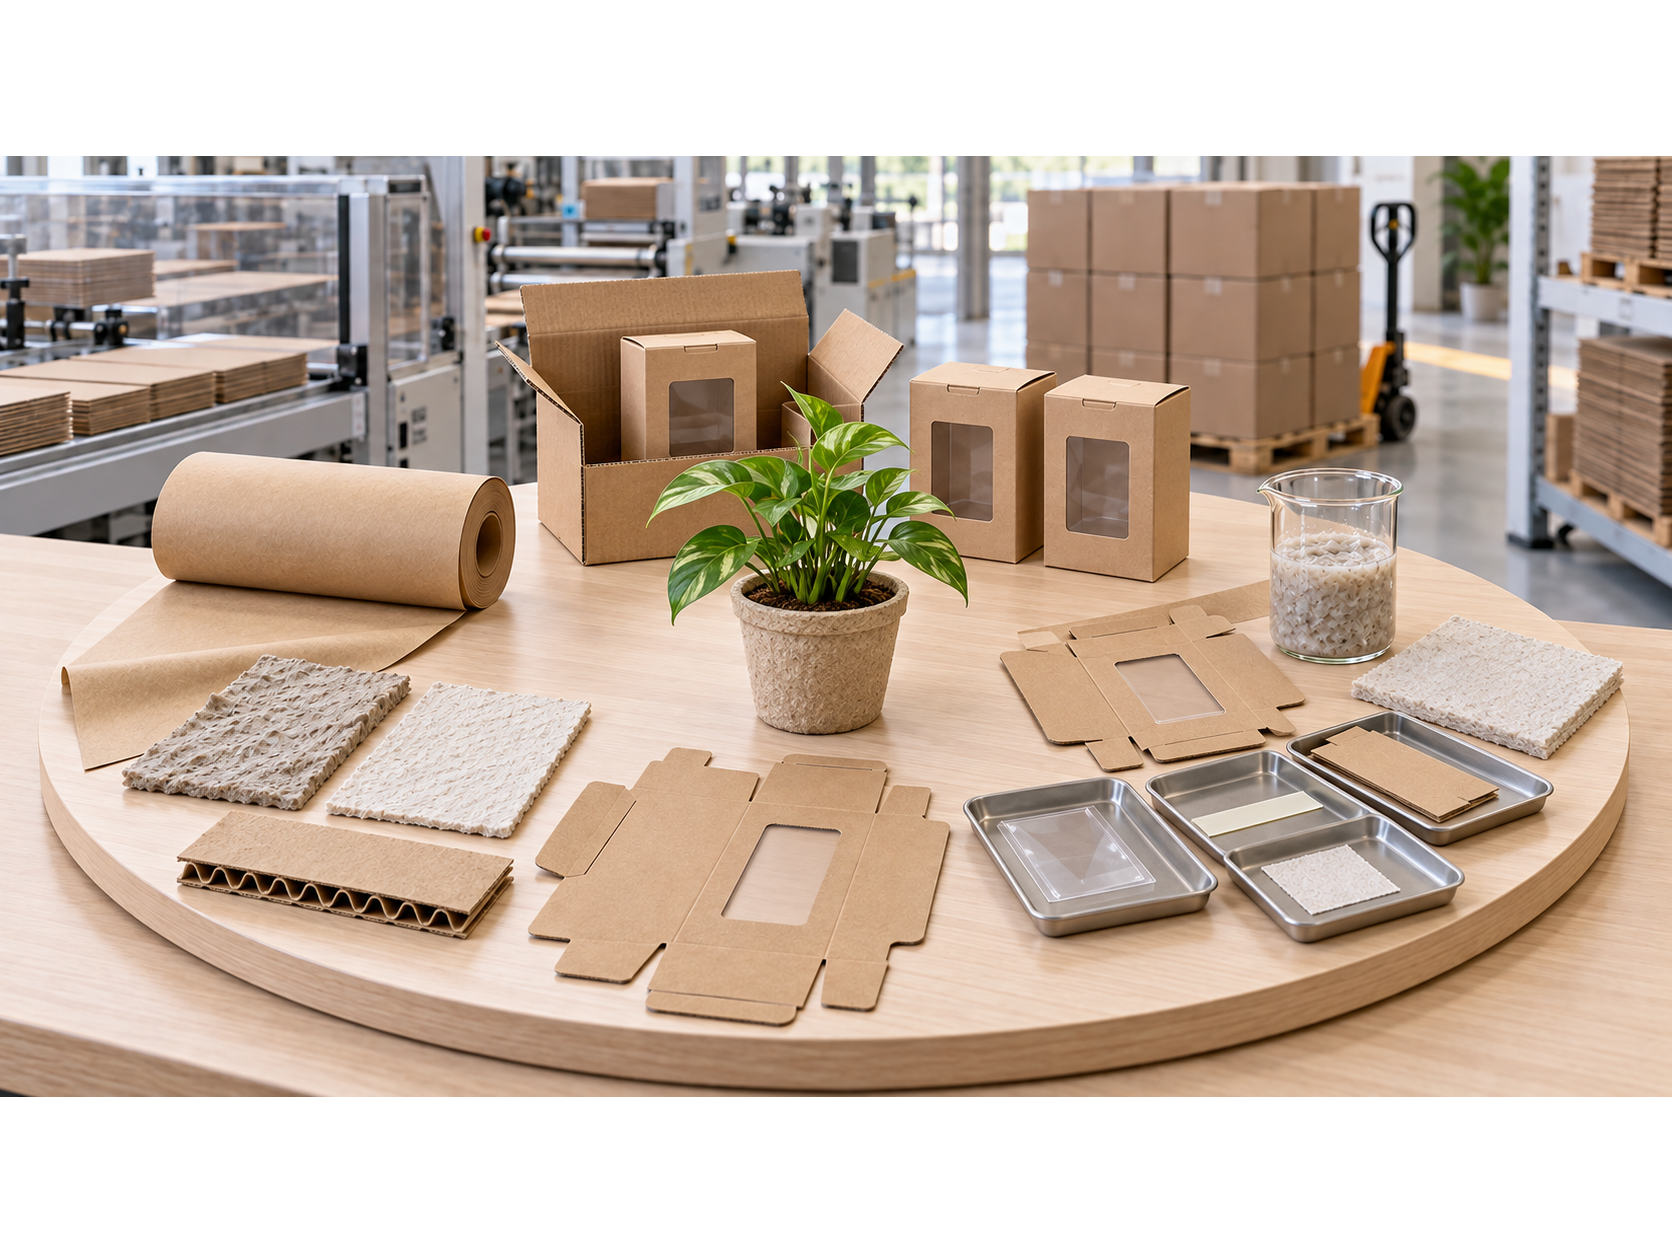
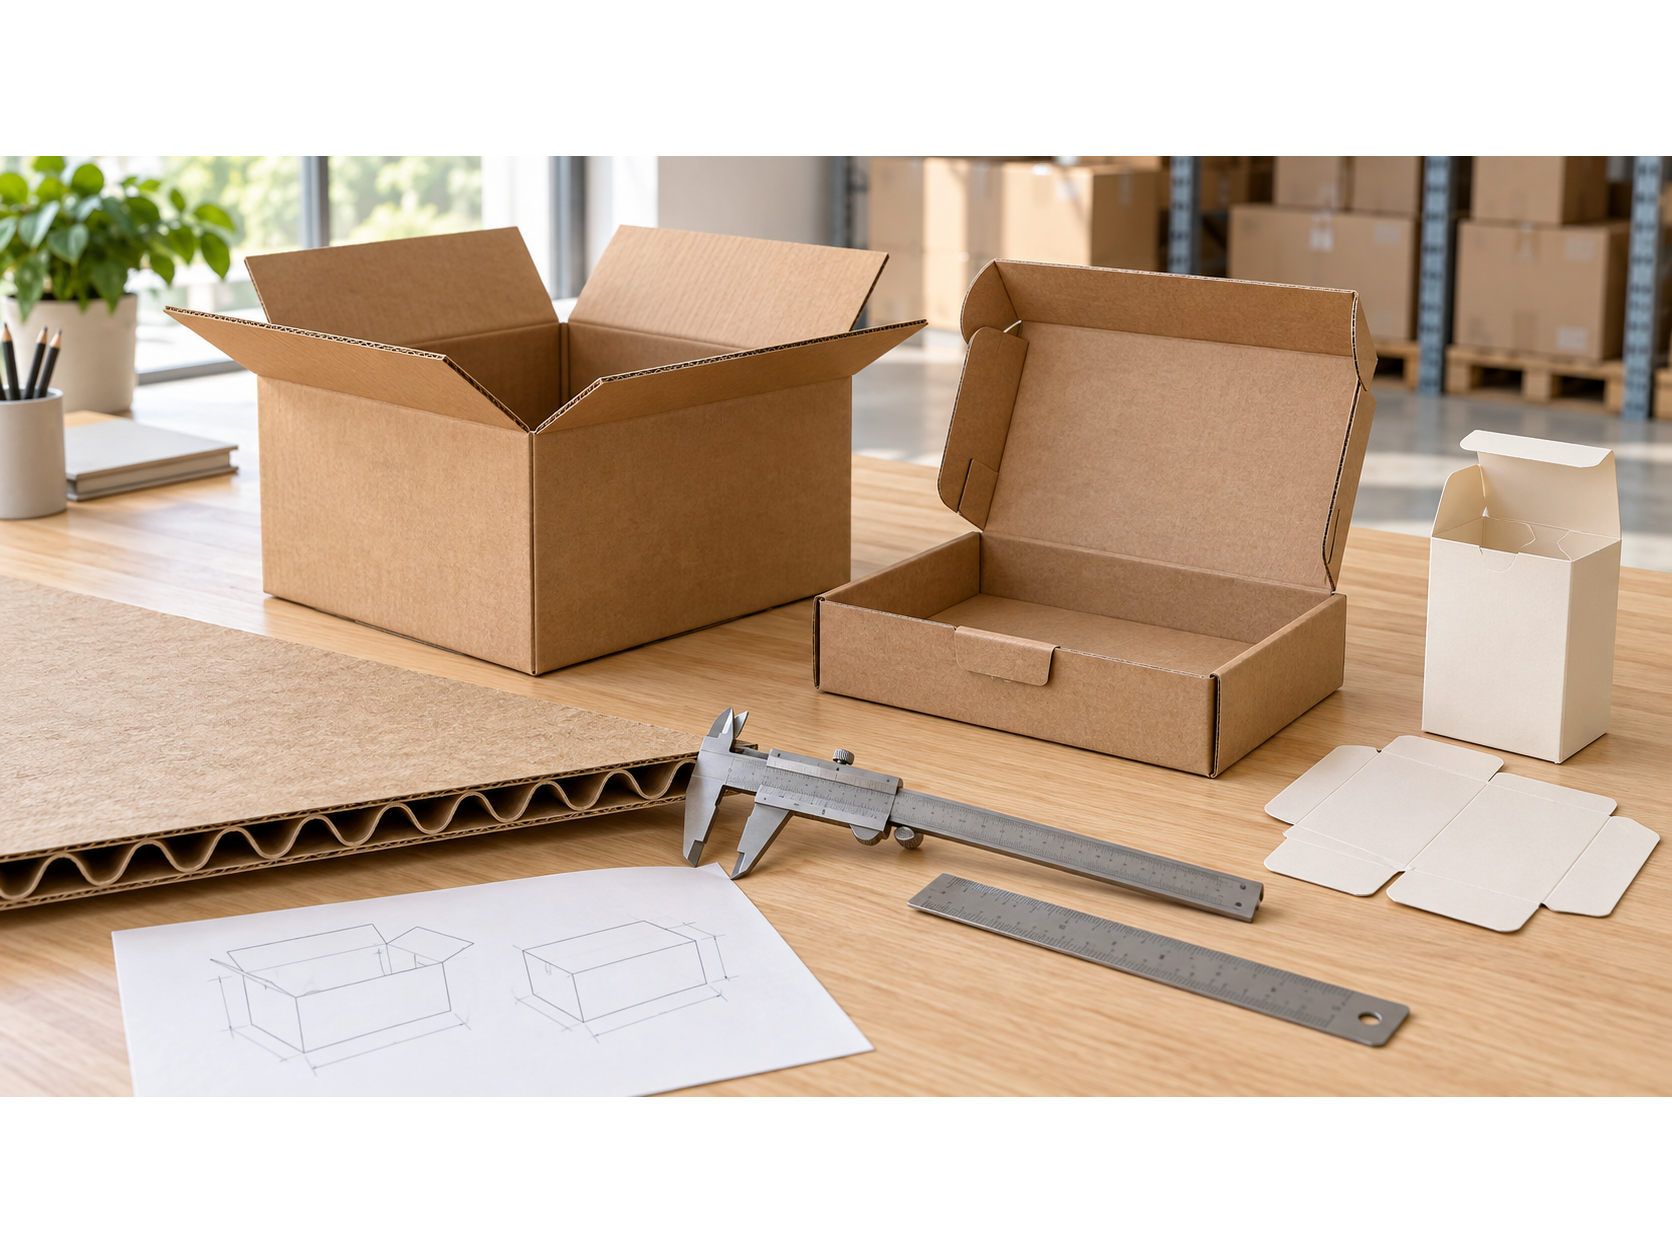
"Cardboard" is what everyone searches and nothing anyone quotes. Three different constructions hide behind the word, and they are not interchangeable.
Box type | Typical construction | Common CPG role |
|---|---|---|
Corrugated box | Linerboard facings bonded to a fluted medium | Shipping case, e-commerce mailer, club-store pack, or protective retail format |
Folding carton | Paperboard printed, die-cut, creased, folded, and usually glued | Retail carton for food, beauty, personal care, household, and other light products |
Rigid or set-up box | Thick board wrapped with printed or decorative paper | Premium presentation, gifting, and selected high-value products |
The difference is structural. Corrugated has air in it: a fluted medium glued between two flat liners, which is what absorbs a drop. A folding carton is a single flat sheet, printed and creased, with nothing between the layers because there are no layers. A rigid box is a thick board with a printed paper wrapped around it, which is why it feels heavy and why it ships assembled instead of flat.
Step 1: Write a Packaging Brief
Most of the cost and most of the rework gets decided here, before anyone quotes anything. What the brief needs to answer:
Product and primary-pack dimensions, weight, tolerances, and intended orientation
Units per box and whether inserts, dividers, pads, or cushioning are required
Fragility, leakage, abrasion, light, moisture, odor, or contamination risks
Sales and distribution channels, including shelf, parcel, case-pick, pallet, and mixed-channel needs
Manual or automated erecting, loading, sealing, coding, and inspection requirements
Expected order quantities and forecast range, including the reorder you have not placed yet
Graphic coverage, colors, finishes, variable data, barcode, and required copy
Acceptance criteria for appearance, function, packing-line performance, and product protection
If the project needs both a retail carton and a shipping case, they are one system, not two projects. A carton that performs perfectly on its own still arrives crushed if the case around it lets it move.
Step 2: Select the Structure and Board Specification
Most boxes do not need a new structure. Corrugated designs are catalogued in the FEFCO Code, an international numbering system for standard constructions, and a standard structure means no custom die and a die that already exists. Regular slotted cases, folders, trays and mailers cover most jobs. Folding cartons have their own set: straight-tuck, reverse-tuck, lock-bottom, sleeve, multi-corner.
The spec that goes out should carry dimensions, board construction, flute profile or caliper, coatings, joint and closure method, score locations and tolerances. The dimension line is where projects go wrong most often: internal, score-to-score and external are three different numbers on the same box, and a product dimension is none of them, because it does not include clearance, board thickness, inserts, or the fact that the product itself varies.
A flute name is not a strength rating. The same B-flute performs differently depending on stacking height, humidity, case geometry, closure and what is inside it. Humidity is the one that surprises people: corrugated loses a measurable share of its compression strength in a humid warehouse, which is why a case that tested fine in January can fail in July.
Step 3: Engineer the Dieline and Build a Prototype
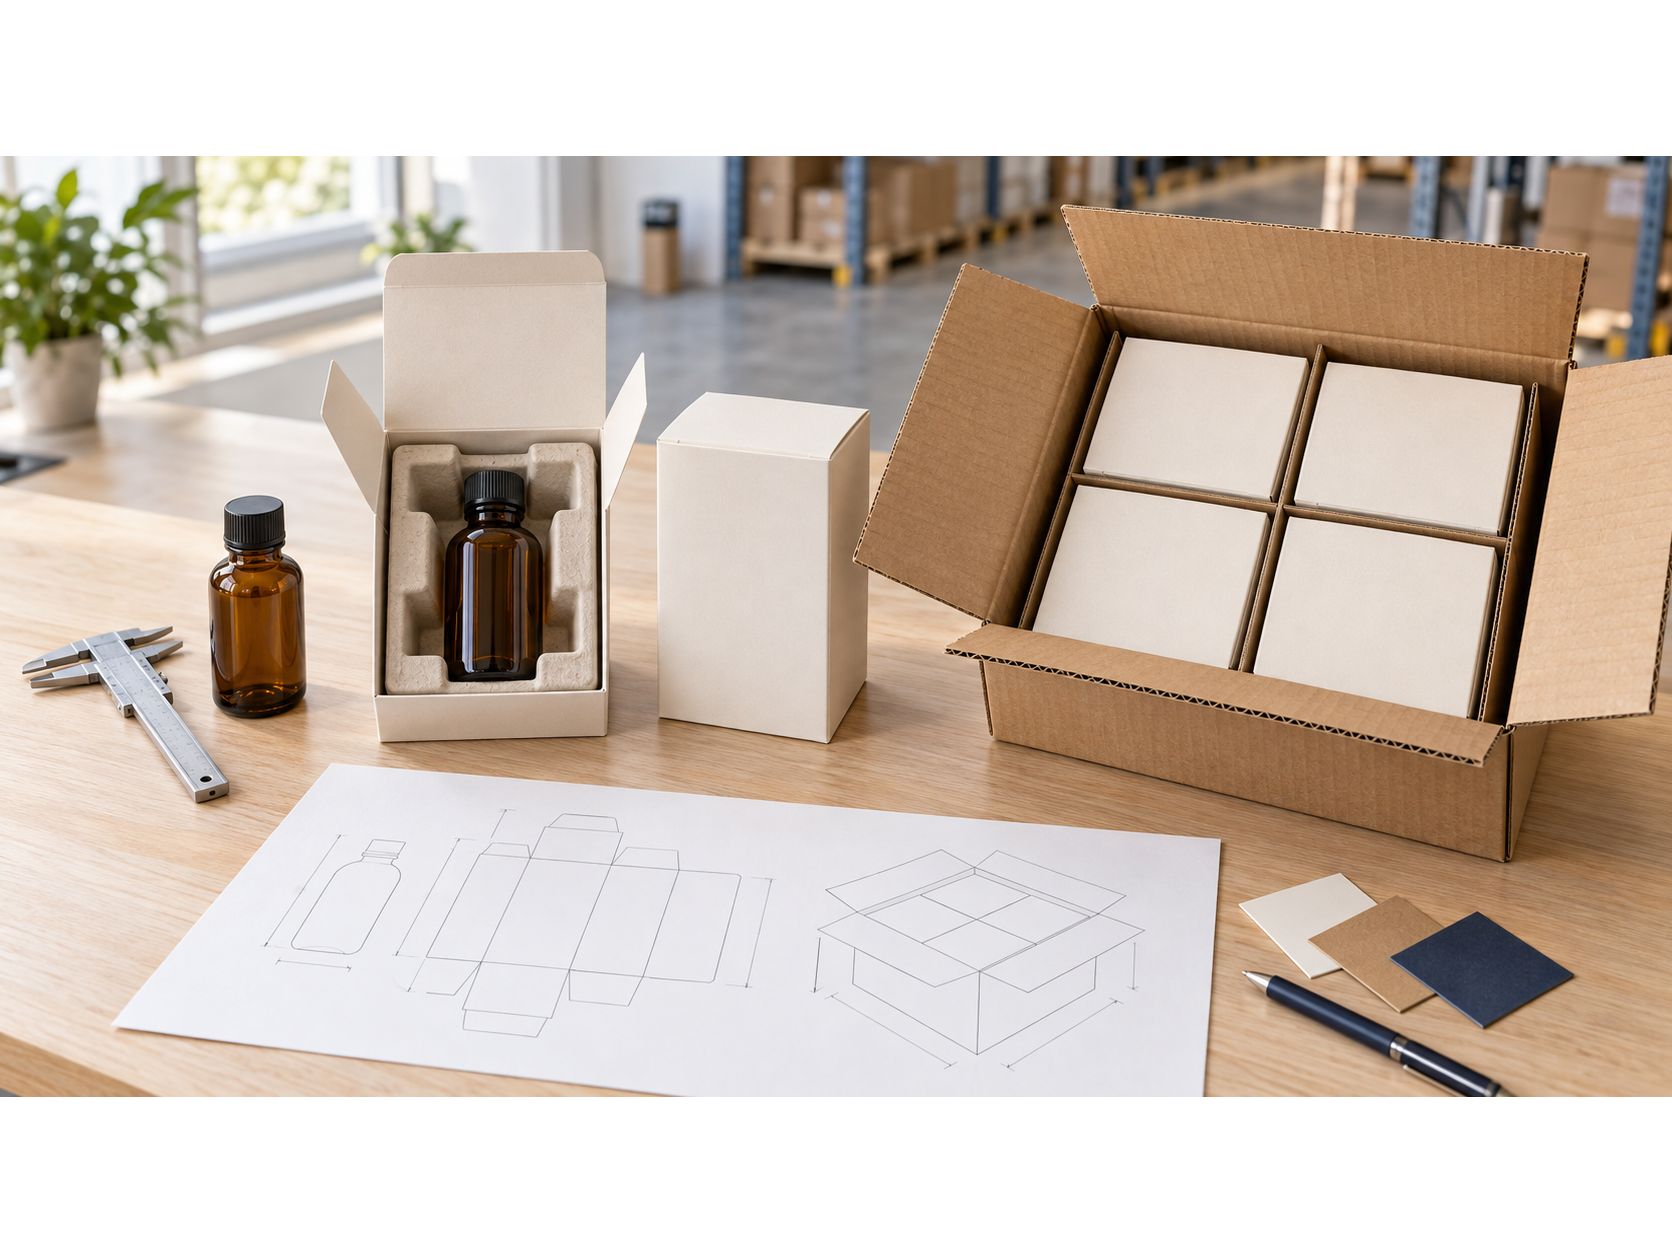
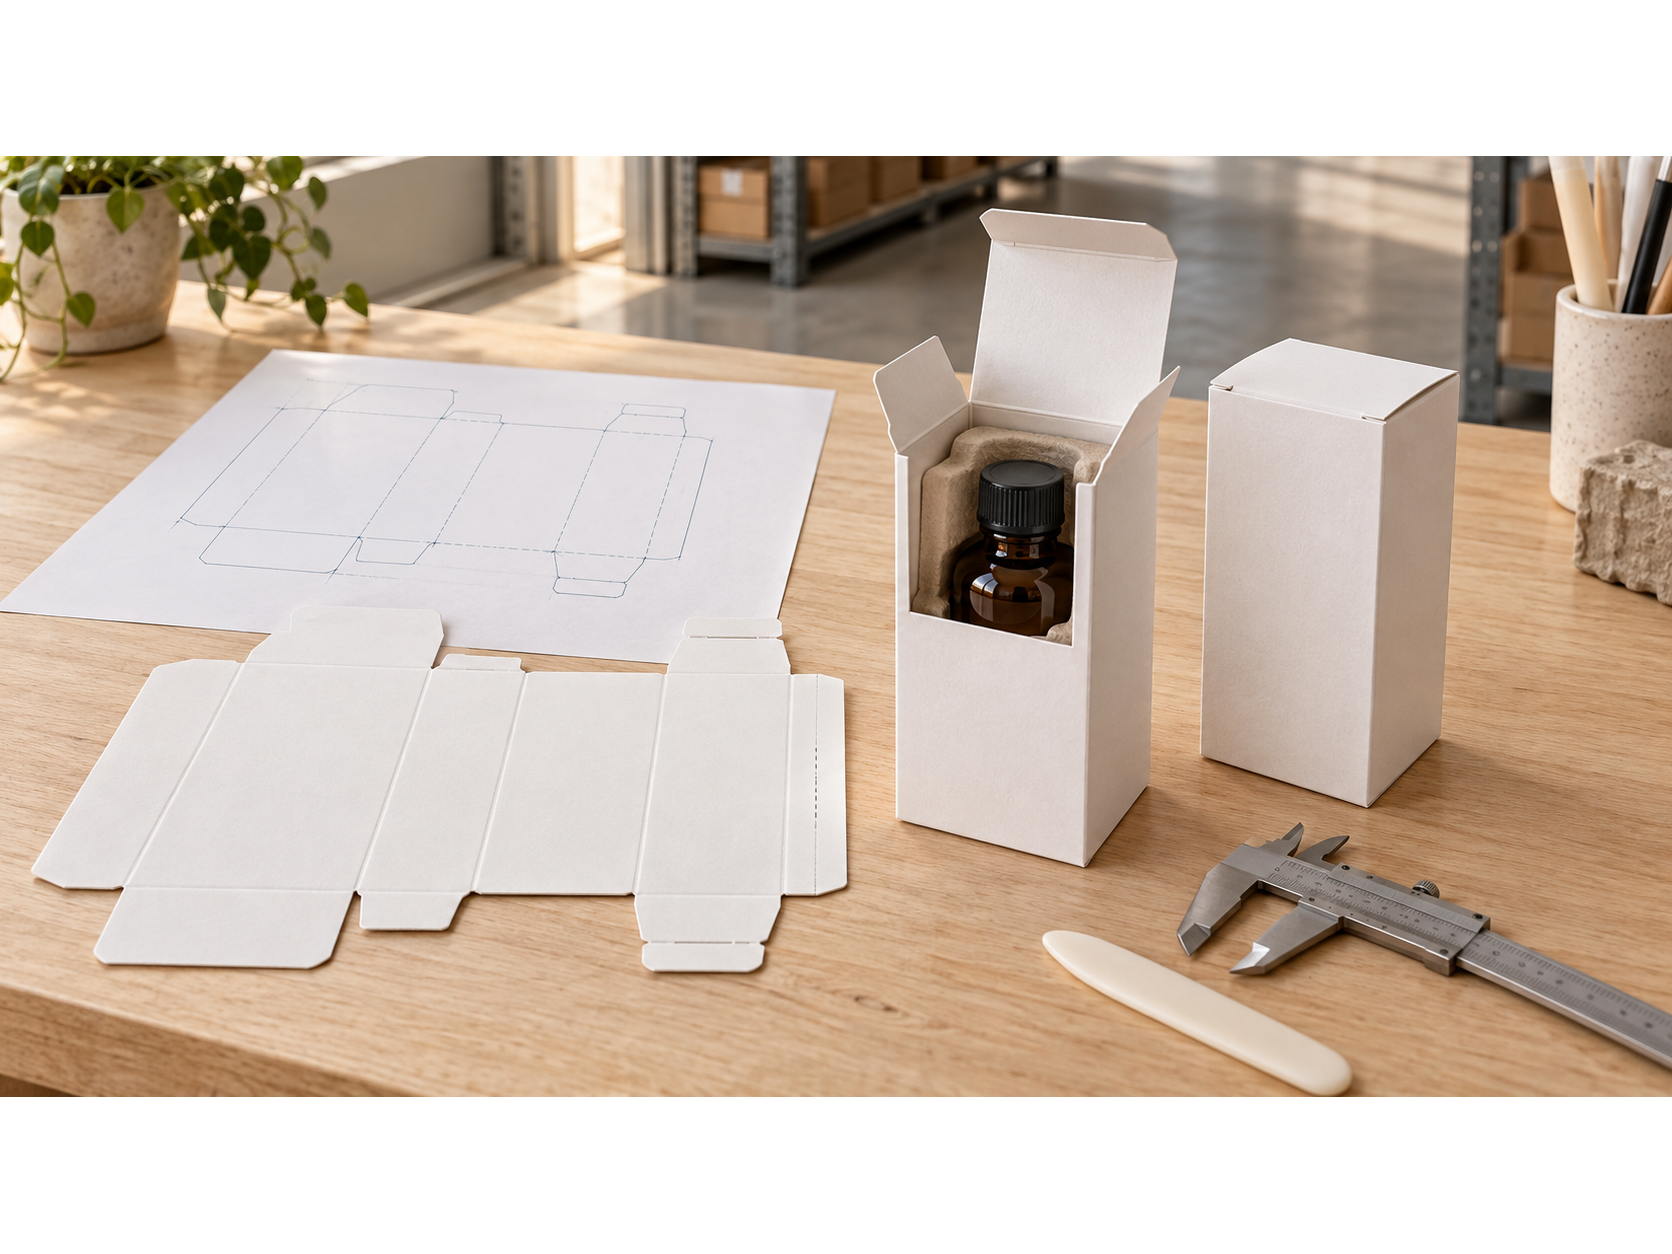
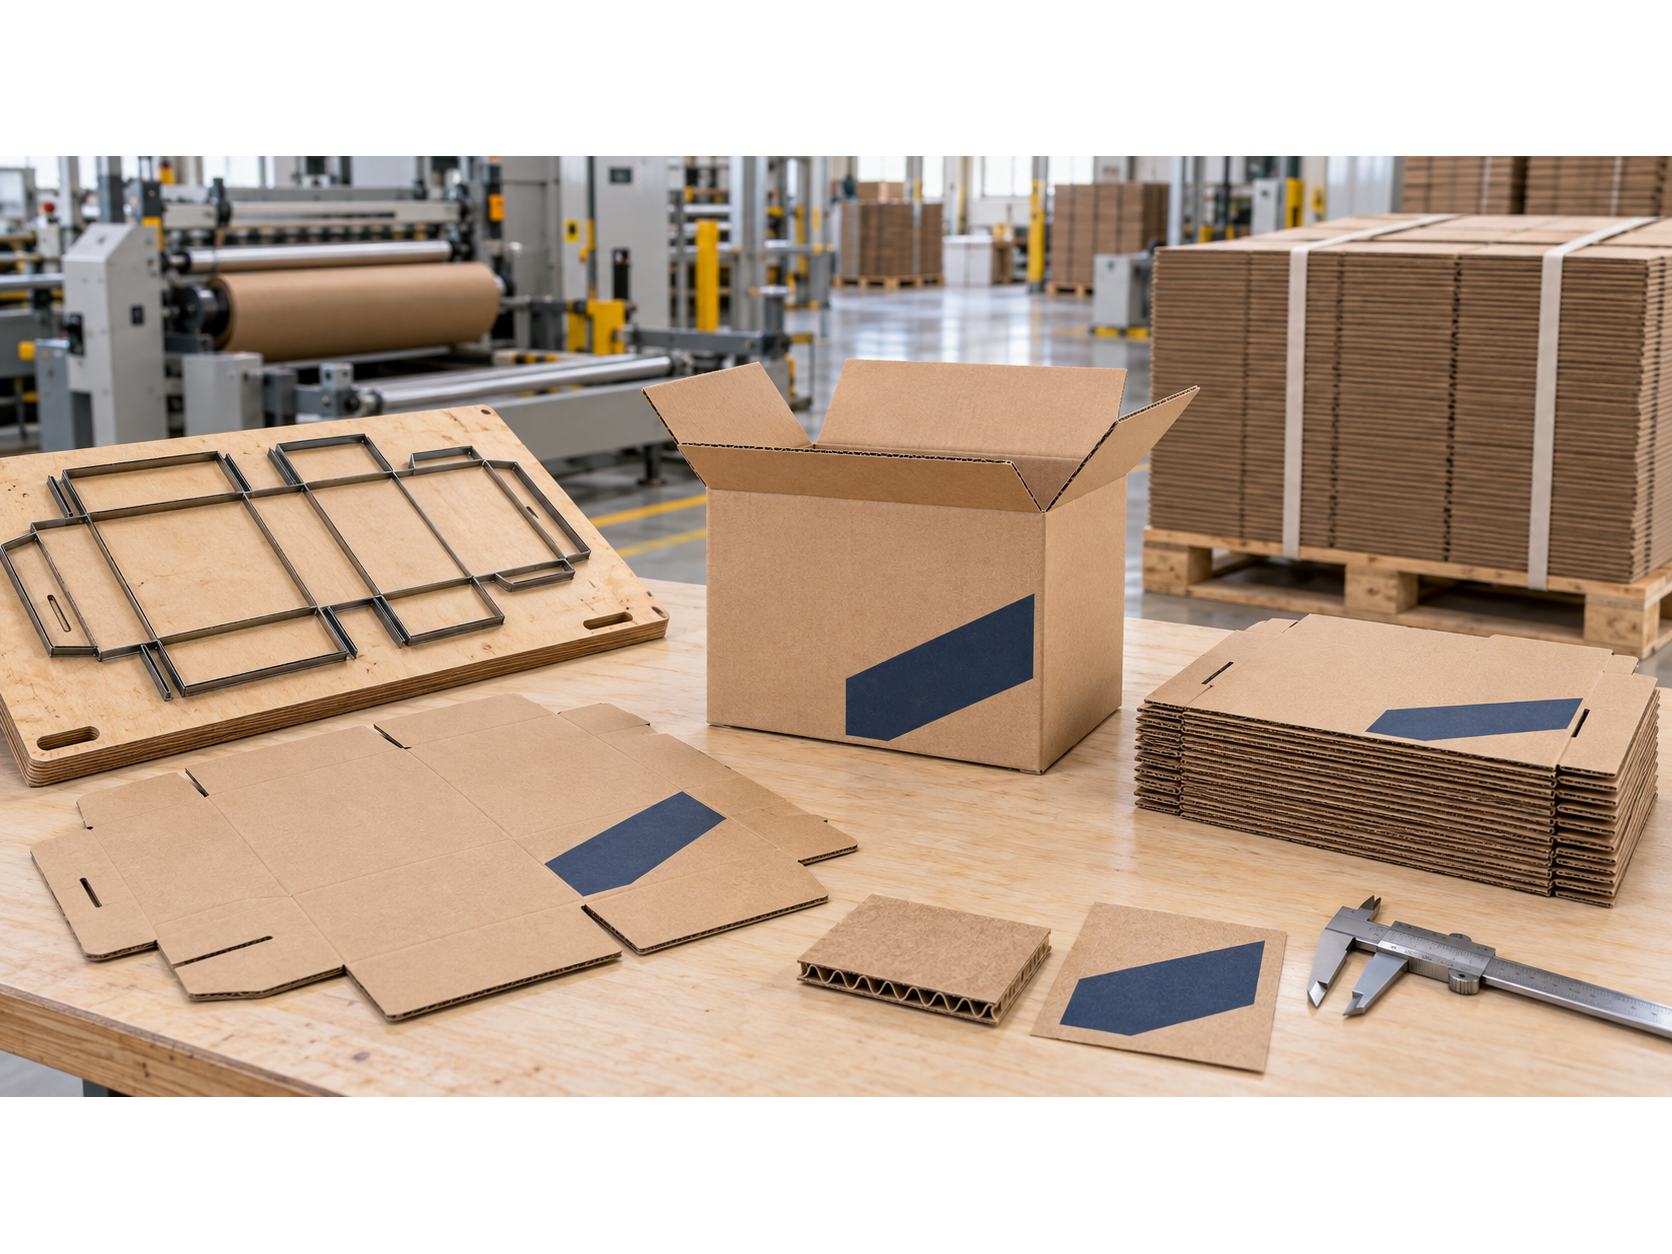
A dieline is the flat drawing that tells production where to cut, where to crease, where to perforate, and where the glue goes. Cut lines and crease lines look similar on screen and do completely different things on a machine. It is also the grid your artwork sits on, which is why artwork built before the dieline is settled usually gets rebuilt.
The dieline has to come from the converter who will run the job, at the revision they are running. A generic template downloaded from the internet is a drawing of a box, not of your box. And when the structure changes late, the artwork built on the old version does not throw an error. It just prints wrong.
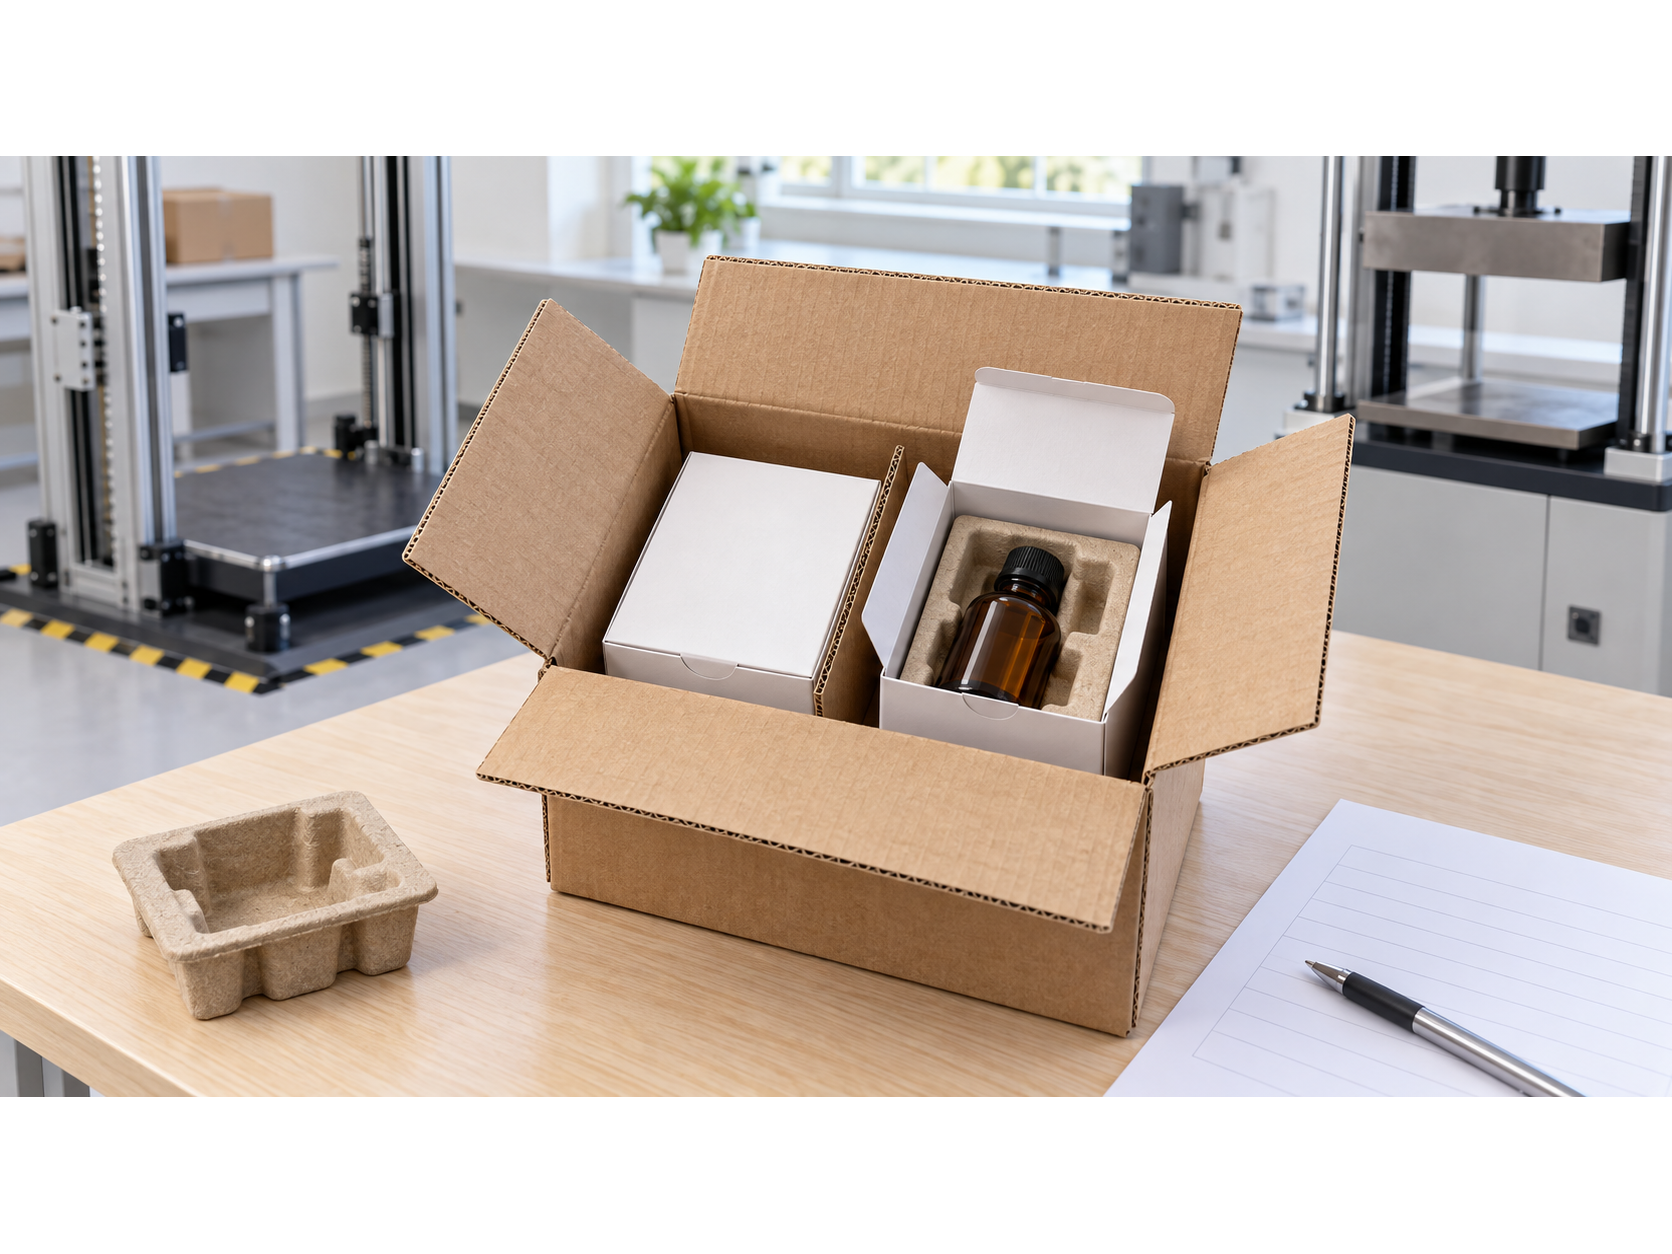
Then a plain white sample with the actual product in it. Empty boxes pass every test. Loaded ones show you the panel bowing, the closure that will not close, the void space that lets things move, and how long a pack-out actually takes, which is the number that decides whether your co-packer likes you.
What this process costs you
Doing it in this order adds two to three weeks before anything gets printed: the structural sample, the loaded test, the dieline revision. Skipping those weeks is a real option and sometimes the right one, on a low-value product going into a short DTC run. On anything fragile, anything going to retail, or anything you will reorder, the two weeks are cheaper than the reprint.
Step 4: Choose Printing and Finishing Deliberately
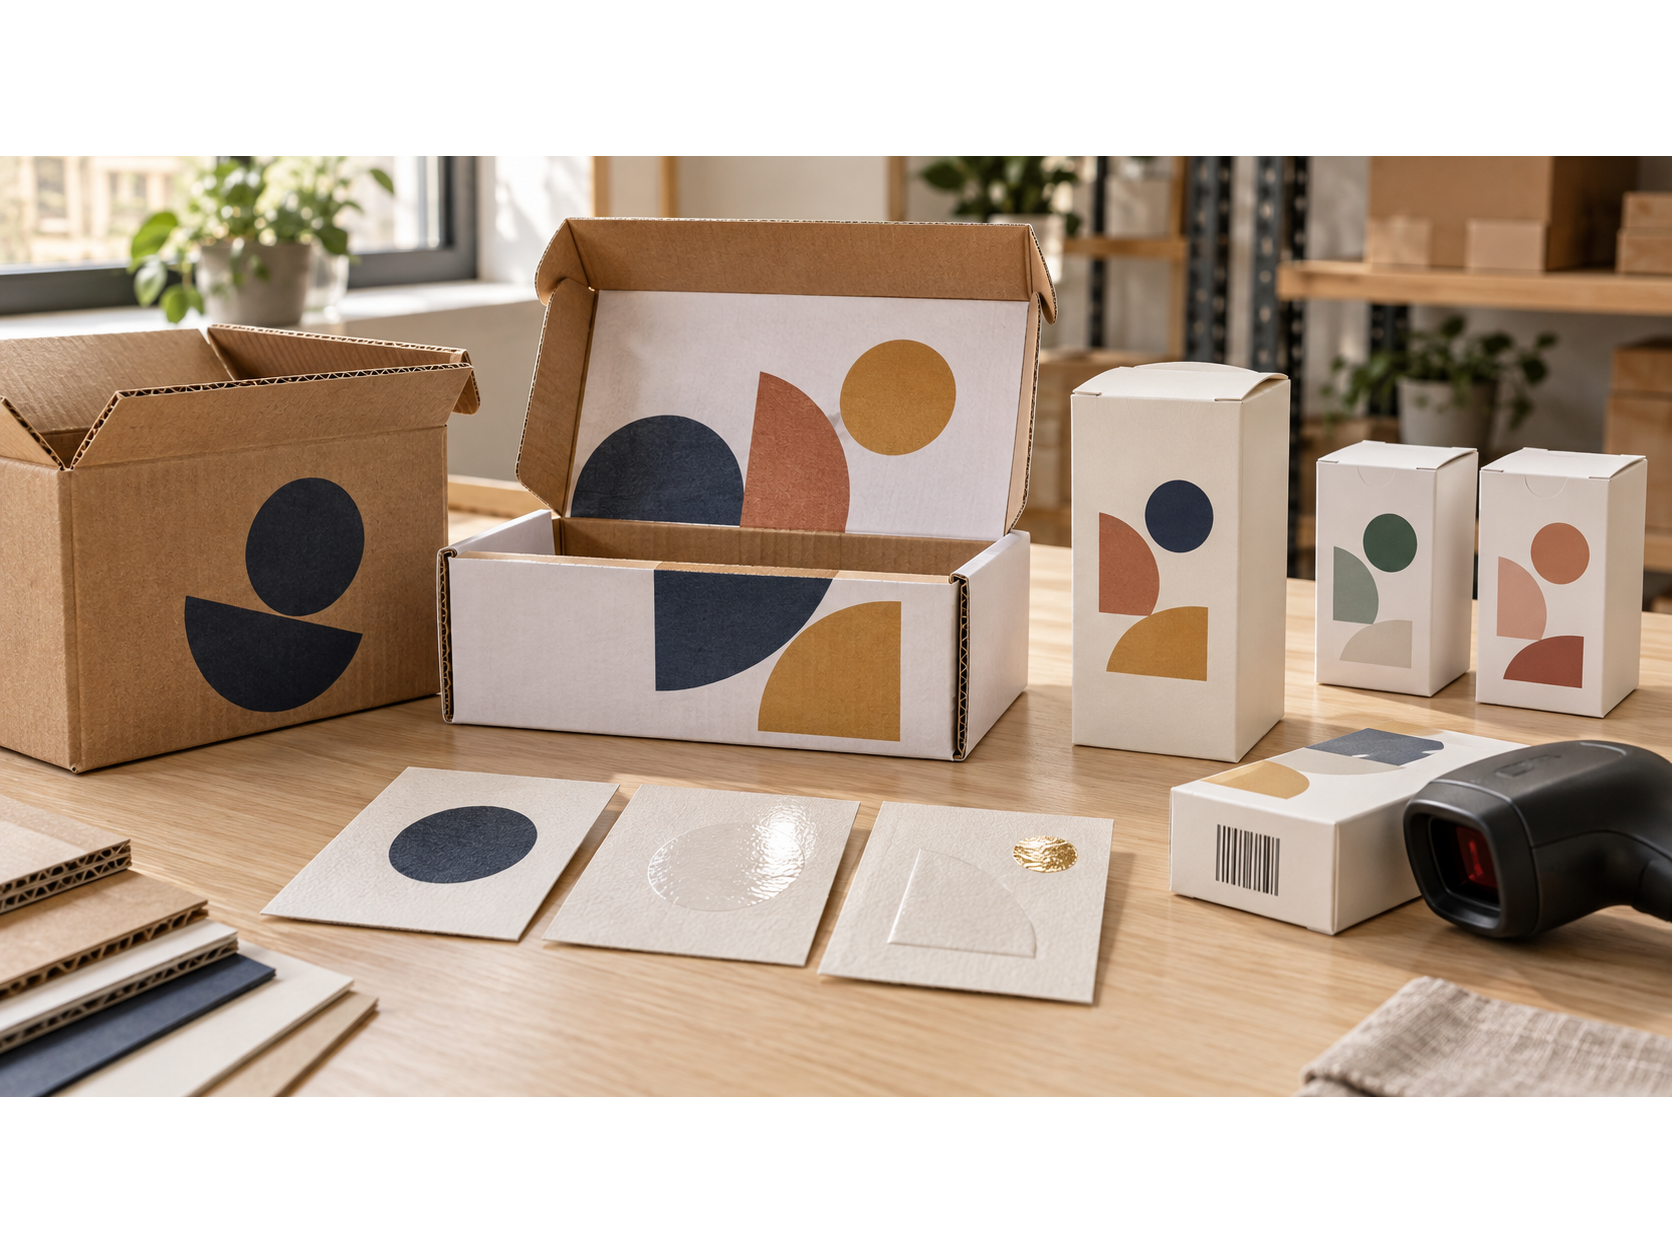
Four routes cover most work. Direct flexo prints straight onto corrugated and is the cheapest, with the coarsest result. Litho lamination prints a sheet offset and laminates it to the corrugated, which buys image quality at the cost of a second process. Offset handles folding cartons. Digital skips the plates entirely, which changes the math on short runs and versions.
There is no volume at which one of these is automatically right. What decides it is how many versions you have, how good the image needs to be, and whether you are paying for tooling you will use once.
Varnish, lamination, foil, embossing and windows all change more than the look. A laminated film can take a paper box out of the paper recycling stream. A window needs a die and usually a patch. Foil and emboss each add a pass. Every one of them is a decision about appearance, cost, converting speed and what you can claim on the back panel.
A barcode that scans on paper can fail on kraft or across a crease. GS1 lists quiet zones, contrast, symbol size and placement among the usual failure points, and all of them have to be checked on the actual material and the actual folded geometry, not on a proof.
Step 5: Convert the Printed Board Into Boxes
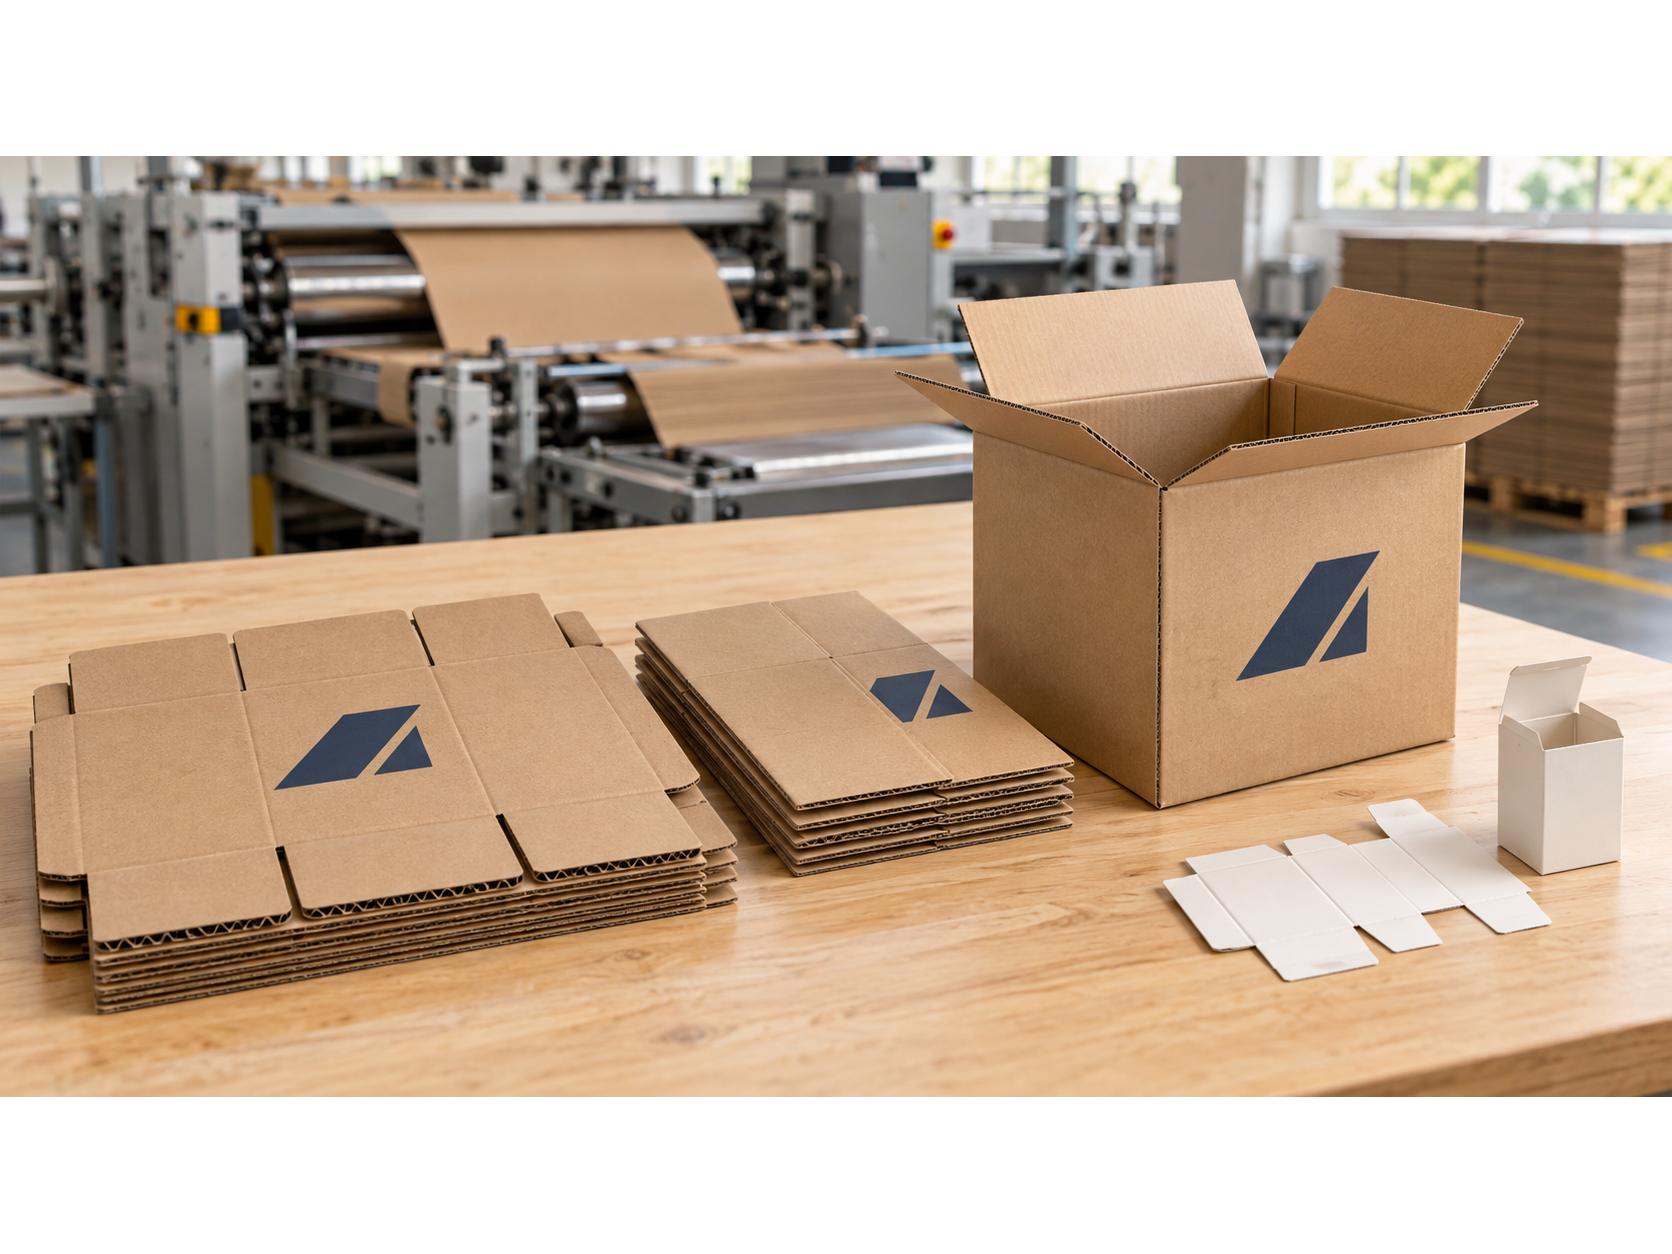
A corrugated plant makes the board first, gluing a fluted medium between two liners, then prints, scores, die-cuts, folds and joins the case with glue, tape or stitches. A folding-carton converter works the other way around: print and coat the sheet first, then die-cut, crease, strip, fold and glue.
The order matters for one practical reason. On corrugated, print happens on a surface that already has flutes under it, which is why fine detail struggles. On folding carton, the sheet is flat when it gets printed, which is why the image quality is better.
Boxes arrive flat or erected, and that decides how much warehouse you need. Flat is the default for corrugated and folding carton. Rigid boxes cannot fold, so they arrive assembled and take considerably more space per unit.
Step 6: Validate the Complete Loaded Package
Incoming quality checks can confirm dimensions, material callouts, print registration, color, scores, glue joints, warpage, and workmanship. They do not prove that the product will survive distribution.
Which protocol you run depends on how the box actually travels. ASTM D4169 runs a shipping unit through a sequence of expected distribution hazards. For single parcels, ASTM D7386 and ISTA 3A both cover packages up to 150 pounds, which is where most DTC boxes sit. A pallet moving to a retail DC and a single box going to a doorstep are different tests, and passing one says nothing about the other.
ASTM D5276 covers free-fall drop testing, and it does not specify one universal drop height. Height comes from the weight of the package and how it will be handled, so a 5-pound parcel and a 40-pound case do not get dropped from the same place.
And when the test is done, the corrugated is the least interesting thing to look at. A case can come through visibly fine with a cracked jar, a shifted insert, a peeled label or a closure that opened and resealed itself in transit.
Before a big launch, run a pilot or controlled shipment before a major launch. Neither laboratory testing nor a field trial guarantees against all damage.
What Determines the Cost of a Custom Box?
Two quotes are only comparable if they are built on the same board, the same print coverage, the same tooling assumption and the same freight basis. They usually are not.
The two things worth separating in any quote are one-time tooling and recurring unit cost, because tooling is where a cheap unit price hides. And the number that matters is landed cost, not box price: damage, packing labor, dimensional freight charges and the boxes you never used can all reverse a saving that looked real on the quote.
For food, the check covers every material that can touch it, which includes the paperboard, the coating, the colorant and the adhesive, not just the board. The FDA treats packaging components as food-contact substances, and authorization is tied to the intended use, so a material cleared for dry contact is not automatically cleared for anything greasy or hot.
Common Mistakes to Avoid
Starting artwork before the structure is settled, which means doing it twice
Calling out only “cardboard” without a controlled material specification
Confusing internal and external dimensions
Approving an empty sample without loading the real product
Comparing quotes built on different board, print, freight, or tooling assumptions
Verifying graphics on screen but not barcodes, glue, scores, or packing-line behavior
Treating a single drop test as proof the package survives distribution
Printing “recyclable,” “recycled content,” or other environmental claims without evidence and legal review
On the last one: the FTC Green Guides require environmental claims to be truthful, substantiated and qualified where necessary. Choosing a recyclable board does not make the finished box recyclable, and it definitely does not make the word on the panel defensible.
Where we come in
We make mailer boxes in E-flute corrugated and folding cartons in 20pt SBS, and the part we spend the most time on is the two steps most projects skip: getting the dieline right before the artwork starts, and getting a loaded sample into someone's hands before the run.
Every format starts at 100 units, which means the sample is not a special favor. It is just a small order.
The order that saves the most rework
Define the job, engineer the structure, load a sample with the real product, then put graphics on a production dieline. Every project that runs the other way around ends up doing the artwork twice.
The answer to "how do I make a custom box" is not a size and a logo. It is a specification the converter can run, a sample that survived the product, and a test that reflects how the box actually travels.